
Here's a few shots of where I'm at with that.


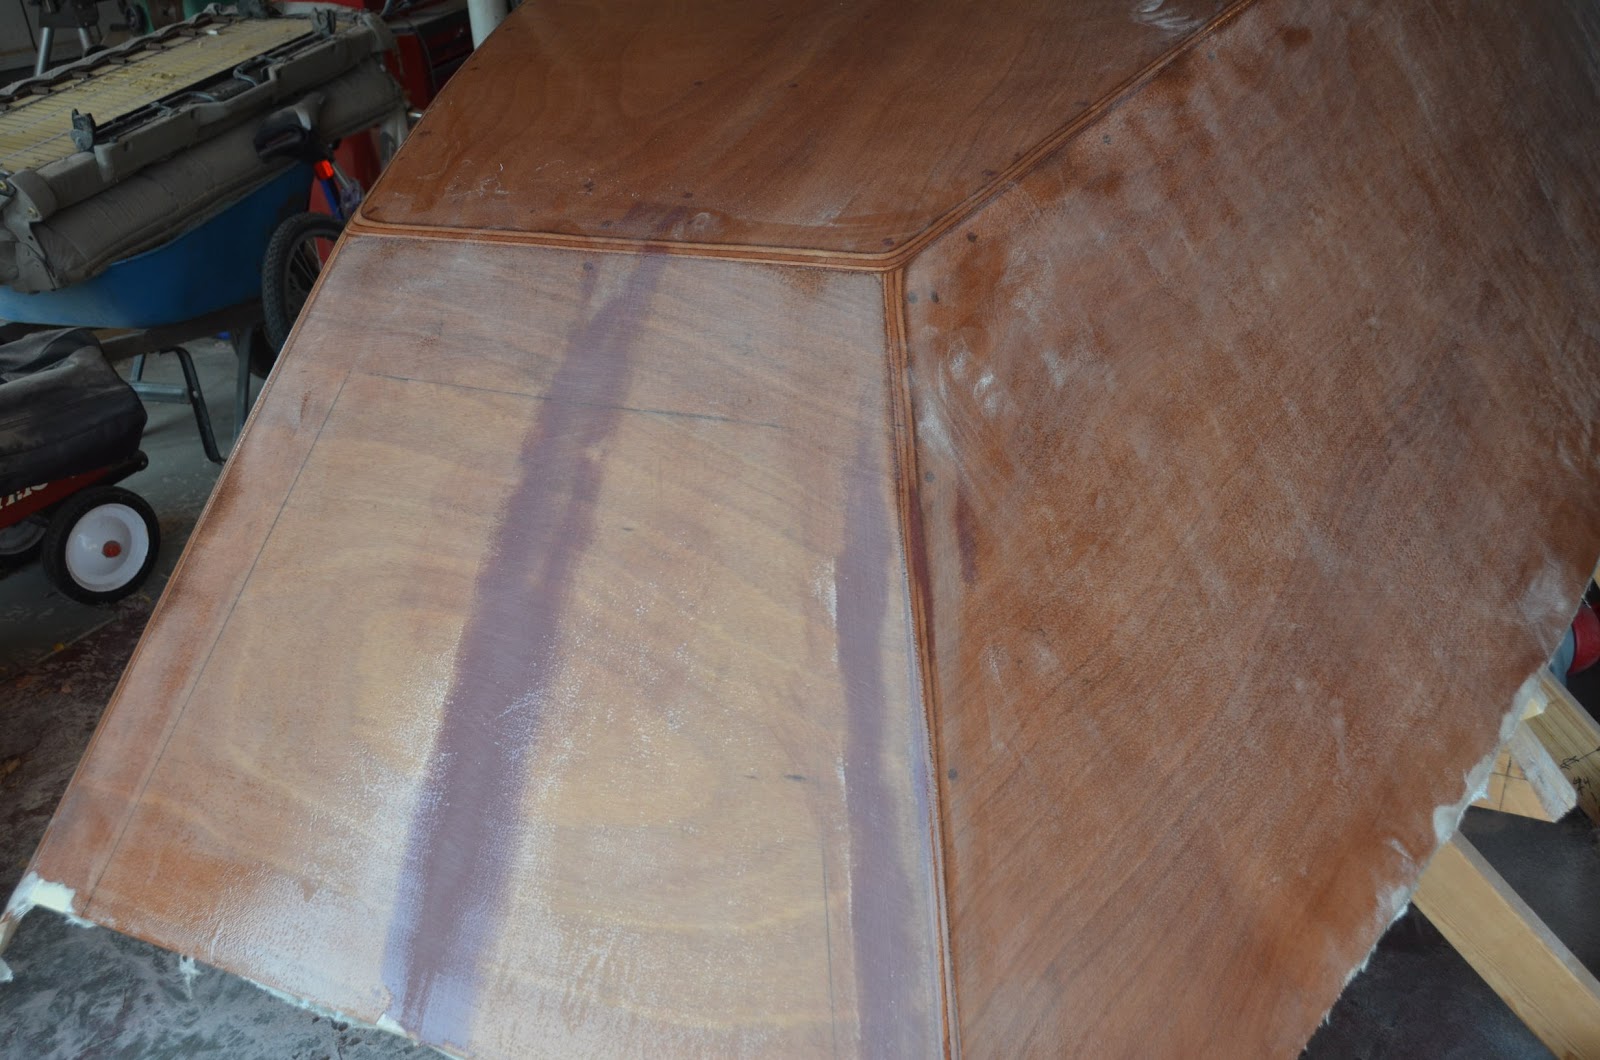

Its coming along slowly but surely. Its just more and more sanding from here. The print-though from the mesh was pretty much reduced to an "orange peel" texture after two coats of clear epoxy. I just need to sand that smooth and it will be ready for primer. Lou Brochetti recommends that I wait a good two weeks after the last coat of epoxy before applying the primer (to ensure it is 1000% cured), so I've got some time.
In the mean time, I decided to tackle the job of ballasting the centerboard and the rudder.
Remember that lovely gooseneck shape on the centerboard that I commented about a few posts ago? Lou recommended that I cut it off, and go with a covered centerboard trunk. As much as I hate to see that lovely shape go away, I think he's right. Covering the trunk will make for a dryer boat. But it also requires a weighted centerboard.
So first things first: Time to trim down the centerboard:


Then I ran down to Cabella's and got two bags (25 lbs each) of No. 9 shot. I got the Number 9 because it was the smallest diameter they had. I figured the smaller the better.


...then did some calculations based on the approximate size of the cup.

I decided to go a little heavier than necessary. I figure a slightly too heavy centerboard won't hurt me much, but one that's too light will tend to float, so I decided on 20 lbs of shot as my target. All those calculations, and it comes down to a rectangle 10" x 12" will get me what I need.
I started by marking it out on the centerboard. I biased its position toward the leading edge and toward the bottom, but really, I don't think the exact location is that critical:

I then chucked up a big spade bit and drilled out the corners.


Then took my jigsaw and cut it out.

Next, I took some stainless steel screws and put them into the sides, so as to provide a bit of reinforcement to make sure the eventual epoxy/shot block doesn't pop out some day.

Next, I took some plastic and taped it over one side.

And then brad-nailed a piece of scrap plywood over that.

From there, it was just a matter of flipping it over, and then filling it up with shot and epoxy. A little trial and error there, but what I settled on was that the best way to do this is to mix a batch of epoxy, then pour in a bunch of shot into the cup. Stir it up and you end up with what looks like a cup full of fish eggs. Pour it in and repeat until full. I guess my calculations were pretty good, because it ended up taking just about exactly 20 pounds of shot to fill it up.
After it was filled up, I mixed one last batch of epoxy and poured it over the top. Just wanted to make sure the plug is standing a bit proud, so when it comes time to even it off, I can sand a bit off and be good to go.

After getting the centerboard done, all that was necessary was to repeat the whole process on the rudder. I did a little noodling on that, and decided that about 13 pounds would be about right. Really, that's just a guess. I just want to make sure my rudder stays put and doesn't try to float up. The calculations came down to a 10" x 8" rectangle, and again, they proved correct since it took just the right amount of shot to fill it up.

Its probably a bit silly cutting these pieces out of expensive, light weight plywood and then adding ballast to keep them in the water, but that's the way it goes. The way the plans lay out, you only need one piece of 3/4" stock, and you need that for the transoms anyway. In that way, you get the centerboard and rudder for "free".
In the mean time, there is plenty of sanding to do on the hull. If I'm going to go with a gloss finish, they aren't nearly smooth enough yet.
No comments:
Post a Comment