Tuesday, November 27, 2012

Off the Jig!!

Great milestone here: The hull is off the jig!

But first, a paint update.

I'm not sure why, but the oil-based primer I got from Home Depot truly doesn't like to dry in cool weather. The propane heater made a huge difference.

I ended up with two layers of primer. Then I got my finish coat: Behr Interior/Exterior High Gloss Enamel. I picked a dark blue from the Behr color chart called "Night Tide".

Where the primer took forever to dry, the enamel dried almost instantly. I painted it in sections of about four square feet, using a small, smooth roller and then tipping off the finish with a sponge brush. I'm not really concerned with the quality of the finish on the bottom. This was mainly about practicing for when it comes time to do the deck and the sides.

All told, it went pretty well. Like I said, that stuff dries FAST, so if you are going to tip, don't get too far ahead of yourself of the paint will be too dry.

I ended up with a total of four coats. I sanded fairly aggressively after the first coat, then lightly after the second. The third and fourth I just put down as it was. Considering I didn't make any effort to get the bottom smooth in the first place, it looks really good. I think the sides and deck should come out very nice, although I think I might try a boar's bristle brush instead of the sponge brush for the tipping.

Back to the de-jigging. First thing I did was to grab one of my daughters to help, and then mark the width of the hull at three points. The plans say that it might tend to straighten out and/or "narrow up" once its of the form, so this way I have measurements that I can use to put in temporary spacers if necessary.

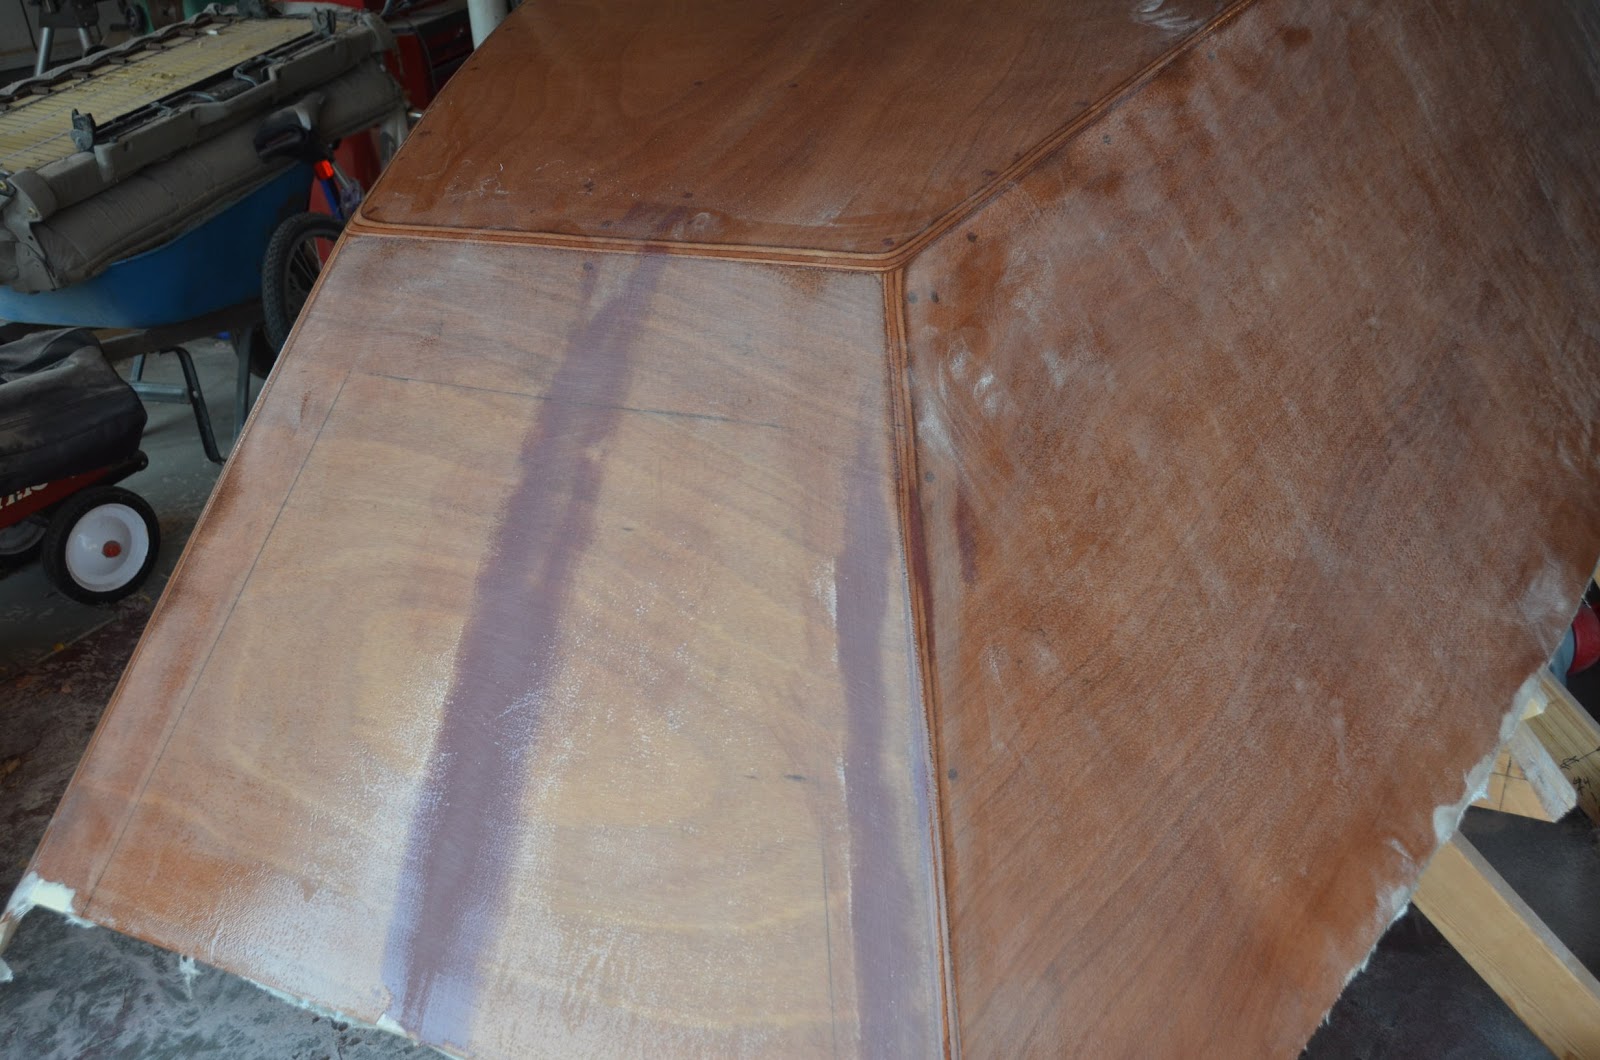
Next step was to crawl underneath and mark off some reference points on the keelson. I hit most of the marked points on the strongback, and also marked off the front and rear position of the centerboard box.

Last step was to cut all the Spanish Windlasses that were still holding the hull to the jig. Grabbed a couple of neighbors to help, and just like that, the hull is free:


Actually, it was a little harder than that. First, despite my efforts to mask off the jig, there were apparently some spots where the hull was glued down. It took a bit of tugging to break it free. And it turns out I missed one of the windlasses. Oops.

But a few fits and false starts aside, there it is.

Next step of the night was to tear down the jig. At one point, I had played around with the idea of selling it or maybe reusing it, but practicalities got the better of me. I really don't have a decent place where I could store it, and I'm going to need some framing lumber to build the new jig that will hold the boat while I finish out the interior, so out came the drill and out came the screws and I now have a big pile of scraps waiting for me to re-use:


I did save the strongback intact. I have plans for that later (stay tuned).


And I also took off the flare forms intact. Between the flare forms and the strongback, that's most of the work building the jig anyway. The rest is pretty simple. These are less bulky this way, so I may save them and see if I can give them away to another Pelican builder.


Saturday, November 17, 2012

Some odds and ends

Had some non-boat projects today, so just a little progress.

First, I finally tired of working around all these bicycles. Got some hooks and hung them up.


I ordered this space heater last week off of Amazon. I'm hoping that some heat will get this primer to dry.

Its rated at 80,000 BTU. When its rolling, it really cranks out the heat.

After four days, the first coat of primer was still not 100% dry. A few hours in the heat from this heater seemed to help finish it off. I decided to add another coat and see how it responds:


The primer has even more tint than before, so if that's the problem, we are in real trouble here. We'll see how it feels in a couple more hours...


Wednesday, November 14, 2012

Starting to Prime

I've decided that the way to do this is to paint the bottom now, but leave the sides for later (after the deck is on). With that in mind, I headed over to Home Depot and got a can of oil-based primer.

I want to paint the boat a really dark blue. Looking through the HD color books, they have one they call "Night Tide" that looks pretty good.

Problem is, there isn't enough room in the primer can for enough tint to get it that dark. So we ended up with a pretty ugly blue color instead. That's Lydia helping out. You can also see where I masked off where the centerboard slot is going to be. I'll end up running some glass from the inside of the slot onto the bottom of the boat, and don't want to have to scrape off the paint first.


The primer went on really smooth and easy. Now that we have a little more room in the can, I'm going to run it back up to HD and get more tint added before putting on a second coat.


I put a little electric space heater under the hull. Its pretty chilly right now. I put this first coat of primer down last night, and was surprised that 12 hours later its not full dry. Hmmm....

Once it is dry, I'll hit it with the sanding block, then another coat of primer, or two, (or three) depending. 

Sunday, November 11, 2012

Finally ready for paint!

It was a long day of sanding today. I finally broke down and bought a Porter-Cable 6" random orbit sander. It was clear that without something like that, getting the hull to where I wanted it was going to take forever.

Even with the sander, I spent four hours on this today. Went through 17 sanding pads too.

When I last left the hull, I had hand-sanded it all over, but there were a bunch of small low spots. So I went back over and skim-coated them with some thickened epoxy (used micro-balloons). So the task of the day was to get all that leveled out.

I don't know how to take a picture of "smooth", but here it is: This thing is SMOOTH.


It is dusty too. I spent most of my time on the sides and the transoms, because I want those to end up with a nice gloss finish. I also went ahead and gave the bottom a good once-over, mainly just to scuff it up so the primer adheres well.

I also spent some time last night cutting out the sheer clamps. Way back when I bought my batch of Home Depot lumber, I had set aside a 16' 2x10 with the hope that I could get those boards out of that. It took a lot of doing, because the board was not perfectly clear. I was working my way around knots the whole time. Eventually, I got it. Here's an artsy low-depth-of-field shot of what I ended up with:


They may need a bit of fine-tuning, but that can wait. Its a lot easier running small stock like that through the table saw than trying to cut 10" wide boards.

I also got the other side of the centerboard glassed this morning. Second time around was a lot easier than the first. It turned really cold overnight, so it might take it a few days to fully cure. In the mean time, I'll start glassing the rudder tomorrow.

Saturday, November 10, 2012

Shaping the centerboard and rudder

Did some work with my jack plane and a couple of sanders today. Got the centerboard and rudder all carved up.

The idea is to give them a bull-nose profile on the leading edge, and a taper on the trailing edge. Here's what I came up with:

Found this was a handy way to carve the trailing edge of the rudder:


The centerboard came out pretty nice. Some of the shot I epoxied in last week was standing a little proud, so I sanded it off with a belt sander. I assume the dust from that is pretty nasty stuff. I'm glad I don't do this every day.


Here are the two pieces in final form. To do this, what worked well was to take a jack plane and rough in the bevel. For the bull-nose side, I roughed it in with a block plane. Then I took the belt sander and smoothed it out a bit more. For the final profile, I used my little "mouse" sander, which really gave a nice finish.


Last task of the day was to get a layer of glass on one side of the centerboard. I cut it so it was about three inches bigger than the piece. To get around the corners, I cut a bunch of relief notches. I used a spreader to get the epoxy through the glass on top, then used a 2" chip brush to get the glass bedded in on the underside. It came out pretty well, but there are a few spots I'll have to sand smooth before I glass the other side.

Sunday, November 4, 2012

Adding some ballast

Haven't posted for a few days, since there isn't much visible progress to show. Most of what I've been doing is working on getting the hull as smooth as possible. Mostly that means feathering out the seams on the glass, and trying to eliminate all "texture" from the weave that is printing through.

Here's a few shots of where I'm at with that.


Its coming along slowly but surely. Its just more and more sanding from here. The print-though from the mesh was pretty much reduced to an "orange peel" texture after two coats of clear epoxy. I just need to sand that smooth and it will be ready for primer. Lou Brochetti recommends that I wait a good two weeks after the last coat of epoxy before applying the primer (to ensure it is 1000% cured), so I've got some time.

In the mean time, I decided to tackle the job of ballasting the centerboard and the rudder.

Remember that lovely gooseneck shape on the centerboard that I commented about a few posts ago? Lou recommended that I cut it off, and go with a covered centerboard trunk. As much as I hate to see that lovely shape go away, I think he's right. Covering the trunk will make for a dryer boat. But it also requires a weighted centerboard.

So first things first: Time to trim down the centerboard:


Then I ran down to Cabella's and got two bags (25 lbs each) of No. 9 shot. I got the Number 9 because it was the smallest diameter they had. I figured the smaller the better.


 I wasn't sure how dense this stuff is, so I weighed out one mixing cup's worth...


...then did some calculations based on the approximate size of the cup.


I decided to go a little heavier than necessary. I figure a slightly too heavy centerboard won't hurt me much, but one that's too light will tend to float, so I decided on 20 lbs of shot as my target. All those calculations, and it comes down to a rectangle 10" x 12" will get me what I need.

I started by marking it out on the centerboard. I biased its position toward the leading edge and toward the bottom, but really, I don't think the exact location is that critical:


I then chucked up a big spade bit and drilled out the corners.


Then took my jigsaw and cut it out.


Next, I took some stainless steel screws and put them into the sides, so as to provide a bit of reinforcement to make sure the eventual epoxy/shot block doesn't pop out some day.


Next, I took some plastic and taped it over one side.


And then brad-nailed a piece of scrap plywood over that.


From there, it was just a matter of flipping it over, and then filling it up with shot and epoxy. A little trial and error there, but what I settled on was that the best way to do this is to mix a batch of epoxy, then pour in a bunch of shot into the cup. Stir it up and you end up with what looks like a cup full of fish eggs. Pour it in and repeat until full. I guess my calculations were pretty good, because it ended up taking just about exactly 20 pounds of shot to fill it up.

After it was filled up, I mixed one last batch of epoxy and poured it over the top. Just wanted to make sure the plug is standing a bit proud, so when it comes time to even it off, I can sand a bit off and be good to go.


After getting the centerboard done, all that was necessary was to repeat the whole process on the rudder. I did a little noodling on that, and decided that about 13 pounds would be about right. Really, that's just a guess. I just want to make sure my rudder stays put and doesn't try to float up. The calculations came down to a 10" x 8" rectangle, and again, they proved correct since it took just the right amount of shot to fill it up.


Its probably a bit silly cutting these pieces out of expensive, light weight plywood and then adding ballast to keep them in the water, but that's the way it goes. The way the plans lay out, you only need one piece of 3/4" stock, and you need that for the transoms anyway. In that way, you get the centerboard and rudder for "free".

I'm going to give those plugs a few days to cure. Even using the "fast" hardener, that's a big lump of epoxy in each. No rush here. Next steps are to round off the leading edges, taper the trailing edges, then glass both pieces.

In the mean time, there is plenty of sanding to do on the hull. If I'm going to go with a gloss finish, they aren't nearly smooth enough yet.